In this part I am going to include the evidence for our Facebook group that we created for this project at the beginning of the project. As you can see the screen print shows to you members of the group and how we communicated while doing the project.
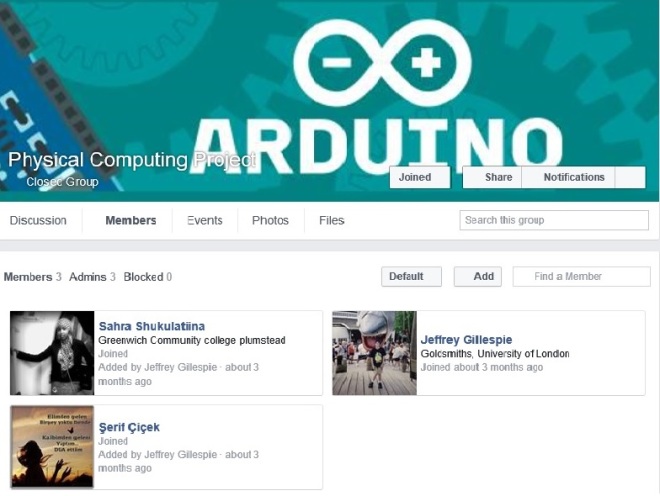
This screen print shows to you three members’ for this project which is:-
Jeffrey Gillespie
Serif Cicek
Sahra Shukulatiina (Leyla Abdirahman)
Above names that you see is our Facebook usernames.
2) This screen print also displays all the files that we upload in our Facebook group in order to share the project group members.
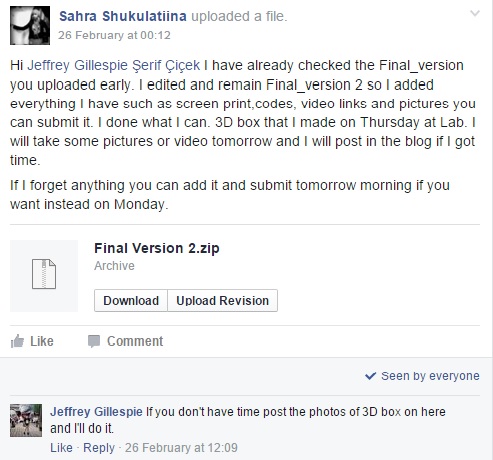
3) This screen print also displays to you one of the group member uploaded the project last version of the project.
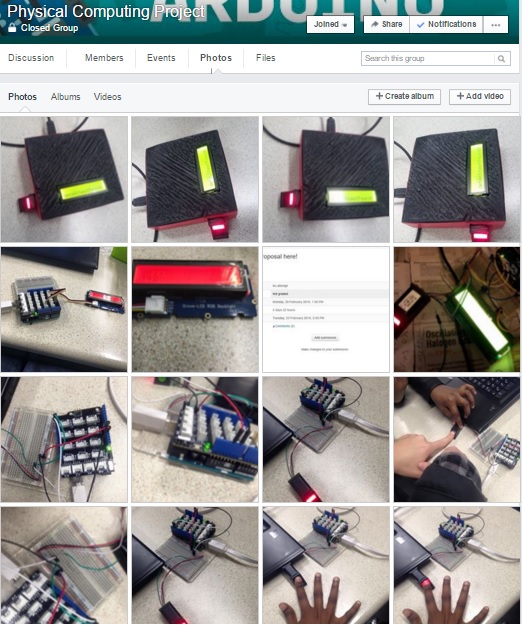
4) This screen print demonstrations to you the project images that group members uploaded in our Facebook group.
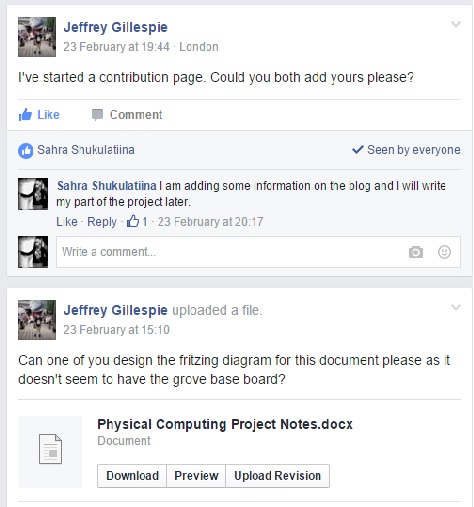
5) This screen shows to you after I had discuss with Team Leader so we decided to have Contribution Page in order the lecturer to know what each of us done for the project.
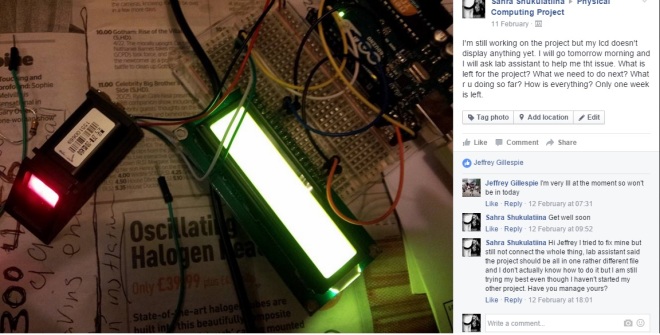
6) This screen print demonstrations to you the issue that I had my LCD on 11th February 2016. Basically my LCD didn’t display anything that time because the LCD bright was too much to see the text so in order to fix that I used the potentiometerto set the contrast of the display so I turned the potentiometer to slowly from left to right in order to adjust the contrast.
7) This screen print shows to you the presentation that the group member uploaded in our Facebook group on Friday 26th February 2016. Also quick message to make sure that group member if he submit the final report.
Download the software for windows and install library in my computer.
Fritzing Diagram
Leyla Abdirahman
Develop the idea of our final project by using brainstorming.
Add few things in project proposal report.
Bought fingerprint scanner and LCD at eBay in order to design the project or to connect the fingerprint scanner to the Arduino during enrolment process.
Write up about marketing research.
Download the software for windows and install library in my computer.
Get started with code and connecting fingerprint scanner and LCD.
Upload the important information in the blog such as project management and about the group project.
Recording Videos about the project and design Fritzing Diagram such as Breadboard and Schematic
According to our research there are lots of different system that is already available in the market, but none of them have all of the exactly the same features as ours product and some of their identical features or the same hardware components are used differently. Although we came up this unique idea and features for our finale project’s product by considering people in need and how we could help them on a big scale as this system give users more power and listening options in a traditional format.
Our project is also about helping people to organised their own personalized music system in a cheaper and easier way. For instance, we found that some of the existing product such as fingerprint sensor, has the same LCD and Fingerprint scanner feature as in our product, but most of them are designed differently as you can see below some of our research links of mypod equipment such as:-
Project Jarvis Home Automation Demo – Fingerprint Scanner: – This is home automation security system which uses a fingerprint scanner. This scanner can store a total of 162 different fingerprint ID’s and a single scan of your finger will arm your entire home and even connect to a custom built laser door sensor!
Sliding Finger scanner based secured gate entry system:- This project includes a finger print scanner that is sliding type. This finger print scanner is much different as secure than thumb type scanner and is not easy to interface. I have interfaced this with 8051 microcontroller to control a motorized gate. If it recognizes the finger it will open the gate.
Project Fingerprint Door Access: – This is home security system which uses a fingerprint scanner and uses different fingerprint ID’s and a single scan of your finger will arm your entire home and even allows you to access your door.
In this project we will work in a group of three people and our part of the group was to do some research on our own to find out what kind of Arduino project we going to develop, the type of customers we going to have and who the target audience is going to be. So later on our group came up with the business ‘MyPod’ to design and build a music device that operates with your finger then plays your playlist and the group members are:-
As a group, we will manage our project by having group meetings in order to track our weekly progress. Also we created a group on Facebook where each of us updated once a task was completed.
Our Facebook group really helped and everyone could ask questions at any time and the project will manage easily because we are all updated at any time. The below screen dumps show the evidence of how we managed the project as a group successfully through Facebook.
Physical Computing Project Management
Start Date
Task
Duration
End data
Description
23/11/2015
Thinking of what we want to build
2 hours
03/12/2015
Everyone in our group thinking of what they want to build for project
30/11/2015
Formatting group
1 hour
01/12/2015
Organising a group members.
30/11/2015
Deciding idea
1 hour
03/12/2015
Everyone in our group came up different idea
30/11/2015
Choose one idea
2 hour
03/12/2015
Finally, we chose one idea as a group that we all agree and we discuss about it with lecturer.
01/12/2015
Create Facebook group
15 minutes
01/12/2015
One of the group member created Facebook group for Physical Computing Project
03/12/2015
Finalize everything
2 hour
08/12/2015
Group members putted everything together.
08/12/2015
Final proposal
2 hour
08/12/2015
One of the group member submitted the final project proposal.
05/12/2015
Came up blog name
1 hour
05/12/2015
Group member came up the blog name.
06/12/2015
Create blog
30 minutes
06/12/2015
One of the group member created WordPress blog for our project.
09/12/2015
Formatting group again
2 hour
10/12/2015
Extra group member joined for group project.
01/12/2015
Group discuss update on Facebook
1 hour
23/12/2015
Each one of us ask questions and answers about the project
14/12/2015
Preparing the Arduino material
30 minutes
09/12/2015
Each one of us ordered the relevant parts that we need for our group project.
Physical Computing Project Management 2
Start Date
Task
Duration
End data
Description
18/01/2016
Still we thinking of what we want to build since our first idea was rejected.
2 hour
25/01/2016
Everyone in our group thinking of what they want to build for project.
22/01/2016
We edited our site and rebrand our business idea for new name.
1 hour
24/01/2016
We tried to change the address to mypod but the name already exists.
30/11/2015
As group we communicated on Facebook in order to finish our weekly task.
2 hour
26/01/2016
Each one of us uploaded their task so we can all see what we done individual.
25/01/2016
Staring our group final project report.
1 hour
21/02/2016
We started writing our final project report and we still working on.
26/01/2016
Submitted for project proposal report.
1 hour
26/01/2016
Since our first idea was rejected we came up with another idea so we submitted for our final project proposal today.
29/01/2016
Starting building the first part of the project
2 hour in the lab
12/02/2016
Today, we connected the Arduino things that we bought it on eBay and installed the library that we need to use for the project.
01/02/2016
URL submission
5min
01/02/2016
I submitted our group URL on learn.gold.
05/02/2016
Continuous working the first part of the project
2 hour in the lab
12/02/2016
We still working on the first part of the project which is enrol, fingerprint and lcd display
08/02/2016
Market and research
1 hour
08/02/2016
We uploaded our market and research for our product.
12/02/2016
Discuss what to do by group meeting in lab
2 hour
15/02/2016
To discuss what we done so far and what is left to do.
15/02/2016
Having another group meeting at student union
2 hour
17/02/2016
Each one of us have task to do.
19/02/2016
Still working on the project
2 hour
21/02/2016
Continuous working our project by working as group.
24/02/2016
25/02/2016
Finalize everything
design a suitable housing AND/OR an on-screen display
2 hour
25/02/2016
Group members will put everything together and submit on learn.gold.
I have done this and it come up nice,it display LCD, fingerprint in the box at the same time
26/02/2016
Present our project as group
1 hour
26/02/2016
Finally, we will present to other members our project as group.
This is the final idea for our group. We have decided on creating project called ‘MyPod’ which is music player system that allows user to play their playlist by scan their finger. If their finger saved into the system than they can play their playlist and green LED will turn on and if the fingerprint doesn’t stored than music won’t play and red LED’s will turn on.
The main reason that we are doing this project is because we considering people in need and how we could help them on a big scale and this system give users more power and listening options in a traditional format.MyPod recognise every individual playlist for example if I put my hand in fingerprint scanner it recognise my music playlist will start playing straightaway and if someone else want to change all they have to do is to put their hand on the fingerprint scanner and their music playlist will start playing. This system is easy to use and navigate as it allows user to sync multiple playlists from myPod while the systems displays song title or playlist name that the user listening to.
Project Requirement
Input no 1
Fingerprint scanner:- Allows users to scanner their fingers in order to play the music.
Input no 2
Push Button:- This is used to control or to stop the music.
Output
LCD:- display two rows with up to 16 characters on each row. I decide to solder wires to it, and I choose to solder the connectors to the back so I could press the LCD display on the breadboard.
Speaker:- use of a Piezo Speaker in order to play the music or song.It produces notes with a certain frequency and it has two pins, one pin I am going to connect to GND and the other to pin 8.
LED:- displaying the program status to the user for example if your finger saved into the system than you can play the playlist and green LED will turn on and if the fingerprint doesn’t stored than music won’t play and red LED’s will turn on. The long pin of the LED is connected to +5v, and the others are connected to a resistor of 270 Ohms each one.
Suitable Housing or On Screen Display
On screen display:- On-screen display is using processing to show audio visual synth.
Components
Potentiometer:- I used the potentiometerto set the contrast of the display so I turned the potentiometer to slowly from left to right in order to adjust the contrast.This will also allow us to control the speed of the music just rotating it and it gives values between 0-1023.
Resistors:- are a small component which is designed to provide a specific amount of resistance in an electronic circuit because resistance is an essential element of nearly every electronic circuit,
Arduino UNO and Arduino IDE
It is an open source electronics prototyping platform, easy to use hardware and software.
Its environment allows us to program the micro-controller of the Arduino UNO.
Various Wires:-We will use more wires with different colours in order to recognise which wire connect breadboard and arduino uno.
Materials Used
1x Breadboard
1x Arduino UNO
1x USB cable
2x LEDs (green & red)
2x Resistors
24x Wires
1x Fingerprint scanner
1x
1x Potentiometer
1x LCD
1 x Connector (16 pins)
1x Speaker
1x 3D box for suitable housing AND/OR an on-screen display
Project Aims & Outcomes
The aims of our project is to operate within personalise system because using fingerprints for identification and recognition is the oldest use of biometrics but, there are many reasons why the use of fingerprints is the most common form. For example, the person to be identified is required to be physically present at the time of identification.
Outcomes of this system is to play music in the playlist by scan the finger individually and everyone’s taste in music is different so no matter what music you listen.Future improvements to be carried out are:-
To have wake up function
Integrate more inputs or sensor to activate finger scanning.
Use actuator for an application
What are you investigating?
We are investigating a way to personalise music by combining a fingerprint scanner, LCD and some leds to store music and play the playlist depending on which finger is placed on the reader.
What challenges did you overcome?
A challenge we overcame was we had another idea which was a fingerprint lock device but it wasn’t interesting enough so we had to change it.
What inspired you?
The thing that inspire us to do this project is because we considering people in need and how we could help them on a big scale. Even though people are more likely want to use new products so if our products meet their needs and match their values and we can find information about a person’s needs and values by carrying out research.
The main reason that inspire us is when we think about the challenges we face and identify possibly solution that we came up with.
Diagram:- Below you can also see diagram both parts for breadboard view and schematic view.
Suitable housing AND/OR an on-screen display
As the part of the project, I created 3D box in the lab for suitable housing AND/OR an on-screen display, as you can see below images it displays the LCD and fingerprint scanner in the box at the same time. The main reason I did this is to see the project material in the box to be organised and display everything. I used http://www.thingiverse.com/thing:420860 site to design customisable sorting box and I used 3D printing which takes more than five a hours to complete the initial.
This video shows to you the baseline of 3D box which I made on Thursday 25th February 2016 .


")


